

I finished a couple of cushion covers recently and I love to quilt both the front and the backside of it. I had a hard time finding a good tutorial online on how to add a zipper to such a fully quilted pillow case. So I’m sharing the way I figured it out.
My favourite feature with this method is that the pillow can be used from both sides (as opposed to an envelope back)

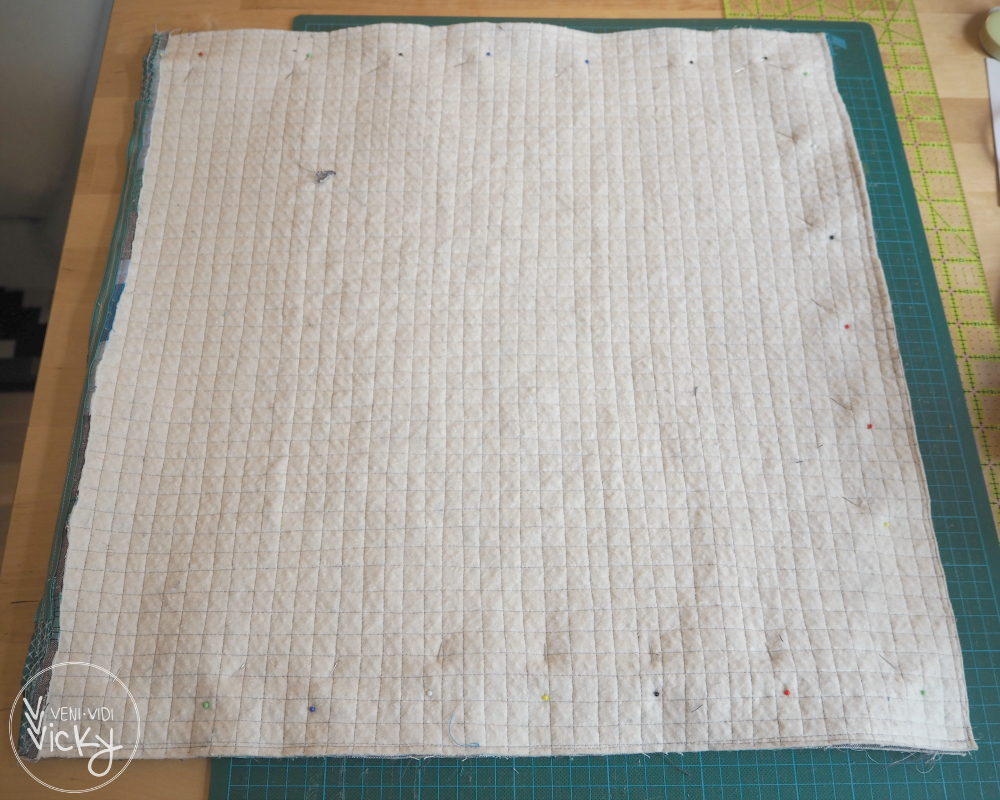
STEP 01 __trim two quilted panels to the size of your cushion filling, adding a seam allowance measuring 3/8” to each side. With a 20×20” filling i.e. your panels should measure 20 6/8” square each. I usually sew around the trimmed panels 1/8” from the edge to keep the quilting seams secure.

STEP 02 __ Lay your zipper out where you later want to sew it in. With my project I have about 3” left to cover at each side. Cut two strips of fabric about 2” wide (in length at least double of what you have to cover – I cut two 2×7” pieces)

STEP 03 __ fold and press the fabric strips in half and sew the closed edges to one respective end of your zipper each.

STEP 04 __ Trim the zipper ends according to the width of the zipper. Lay one of your quilted panels out, facing up. Place the zipper wrong side up on top of it, leaving just 1/8” space uncovered. Pin into place and sew close to the zipper (about 1/4” from the zipper edge.)

STEP 05 __ Fold the quilted panel over and press lightly. Proceed stitching in place very close to the zipper.

Repeat STEP 04 and STEP 05 with the other panel for the second side of the zipper.
Make sure the two parts are lined up correctly because we already trimmed them down!
STEP 06 __ Fold the two sides together wrong sides facing, line the corners up and pin into place. Open the zipper halfway! Sew around leaving out the side that is closed by the zipper. Use a 3/8” seam allowance (this is what we added to the final size before trimming). Secure with backstitches at start and end.
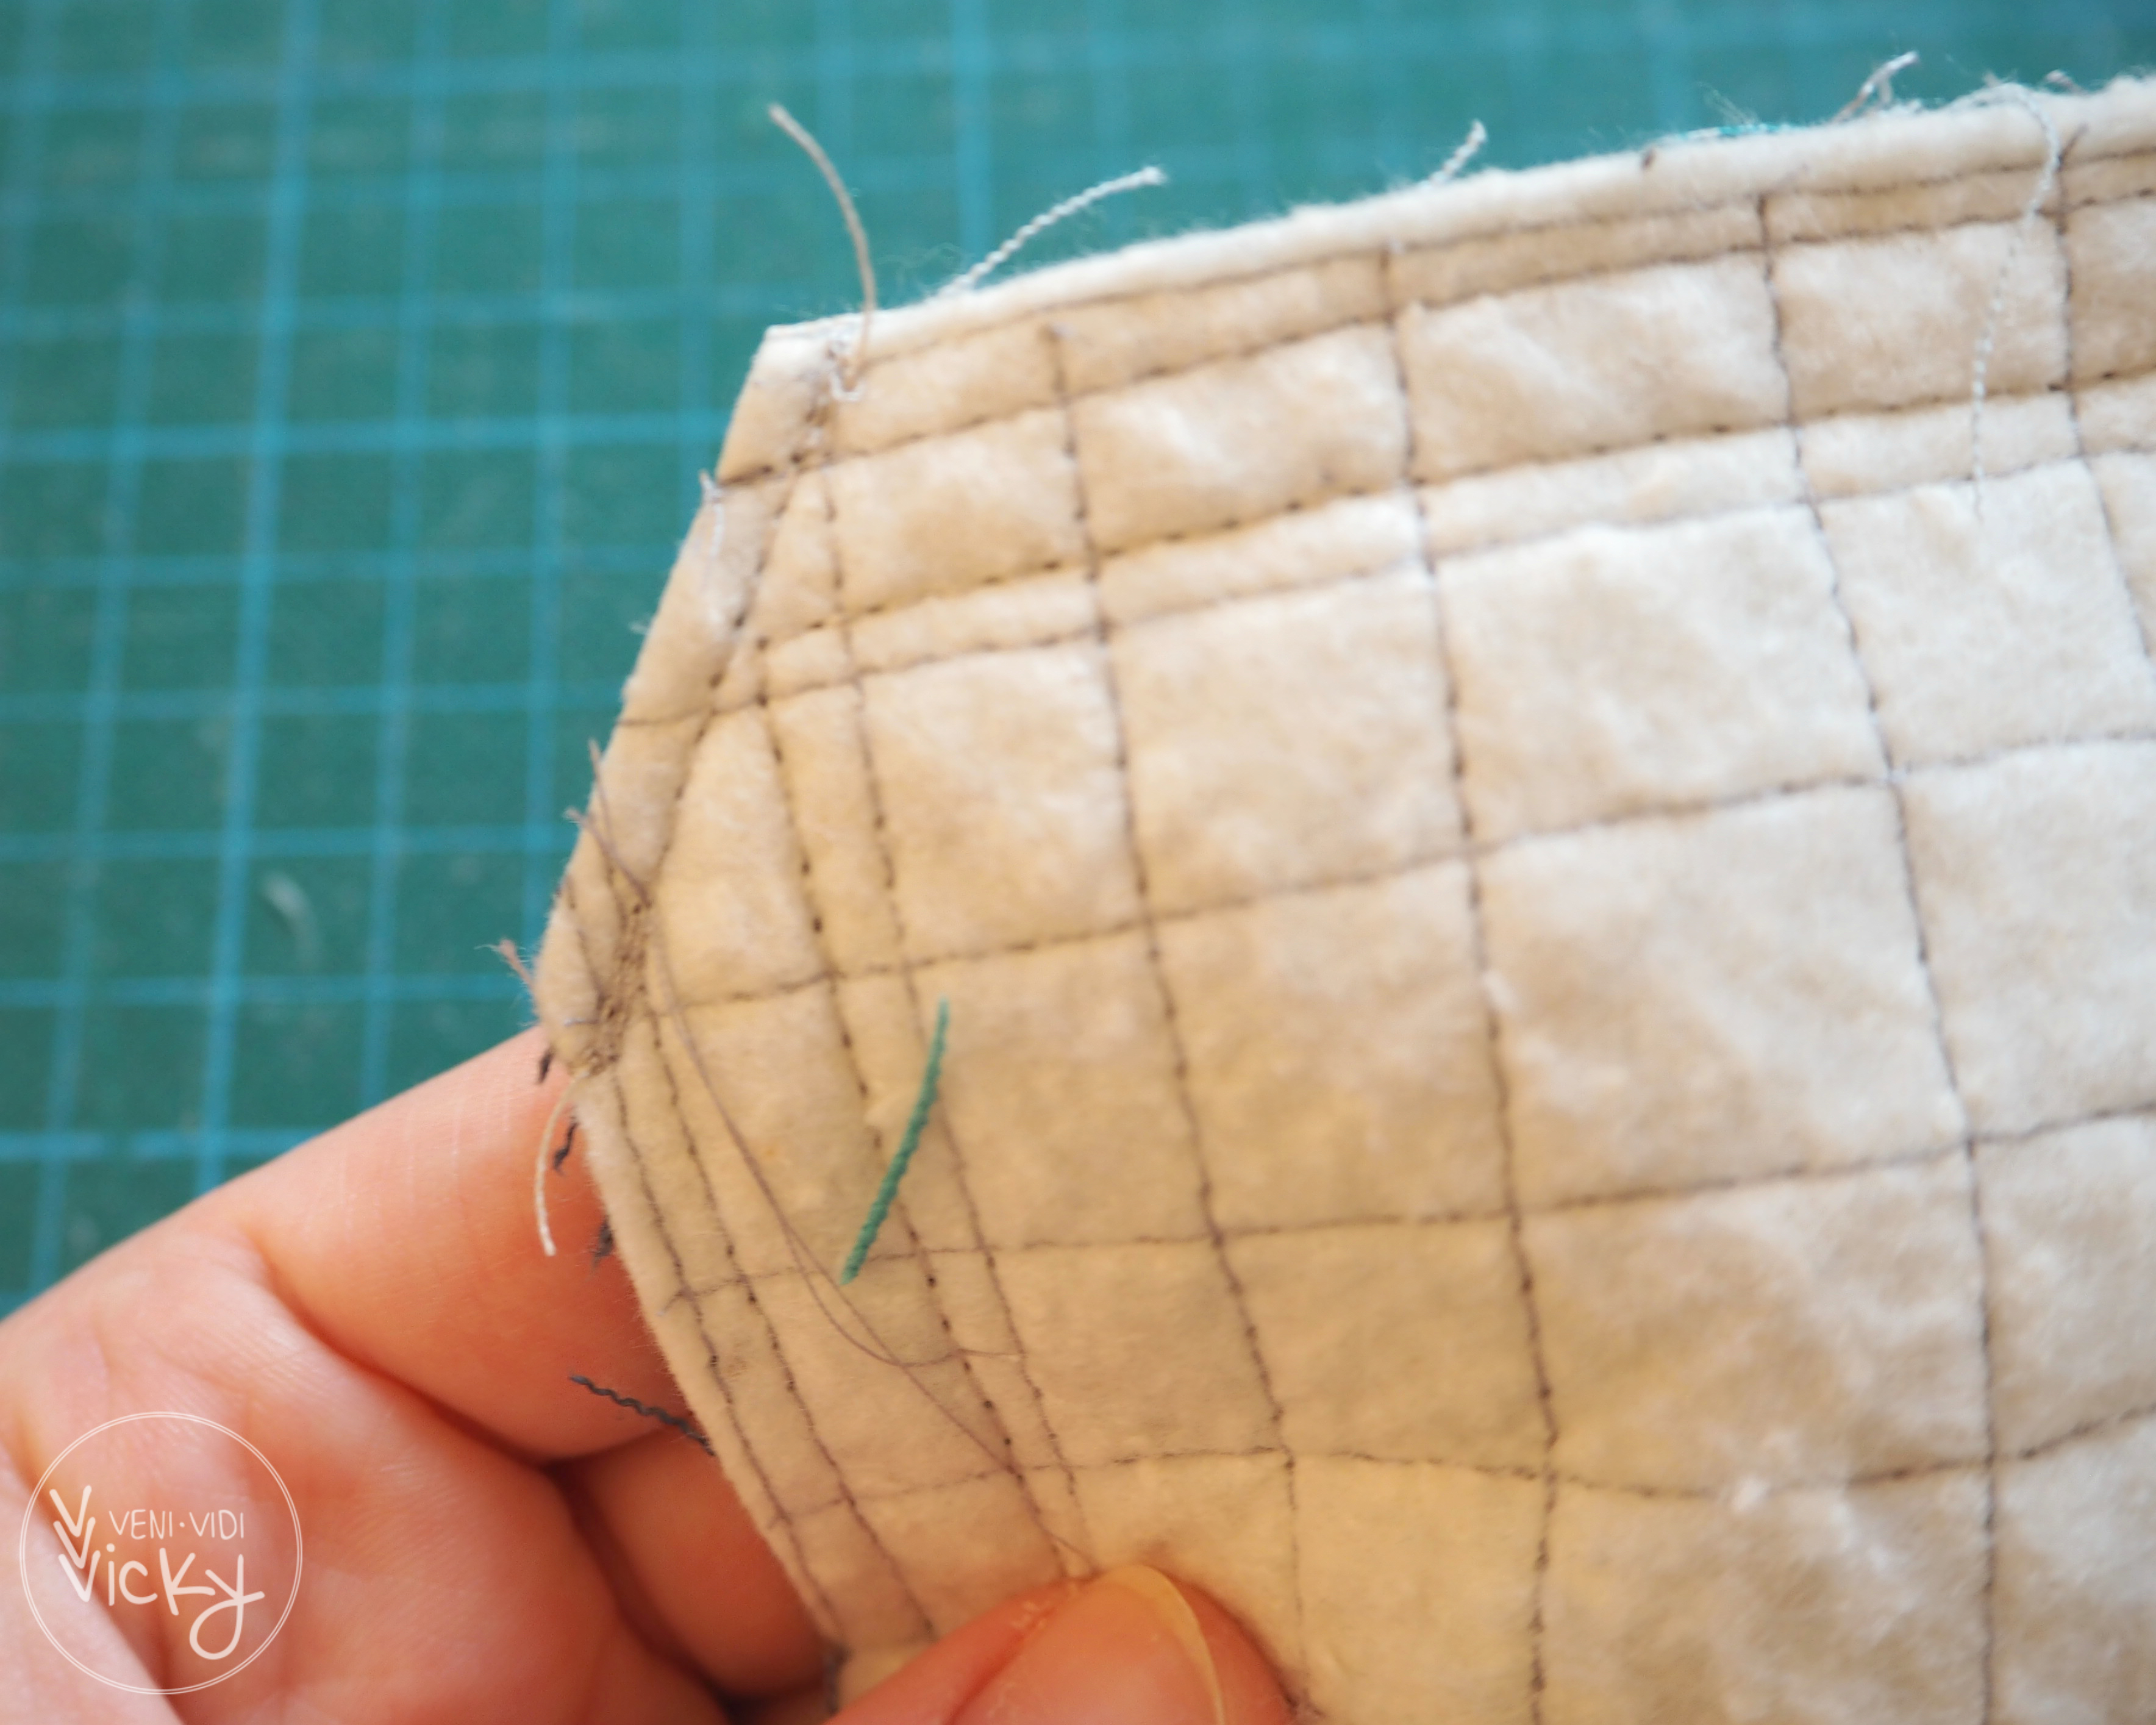
STEP 07 __ I usually sew a short diagonal seam at each corner and trim them away, this makes for neater corners after turning.
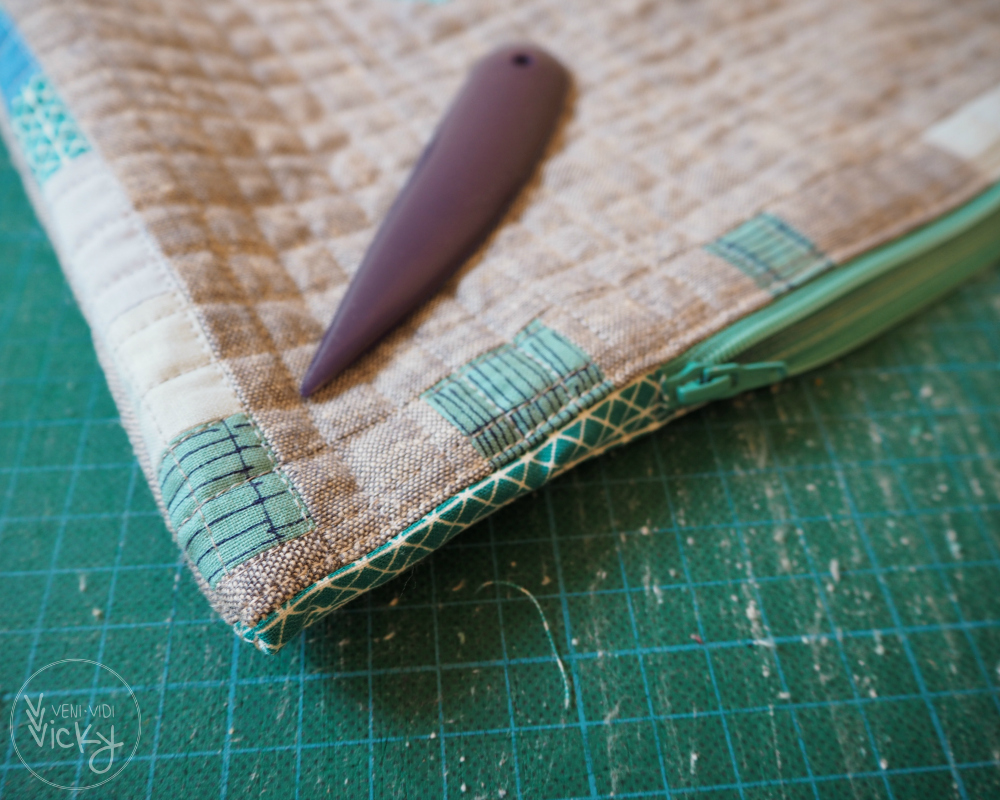
STEP 08 __ Turn the pillow case inside out (this is the part where you will understand why the zipper has to be open) Poke the corners out using a pointed tool. YOU’RE DONE!
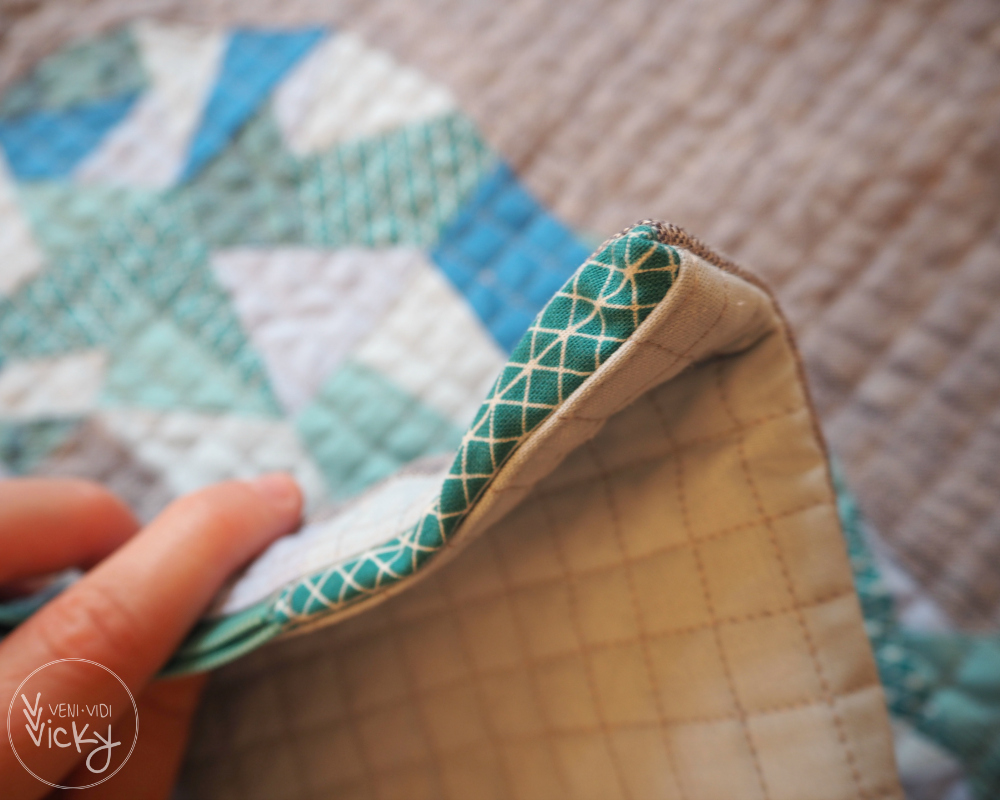

Thanks to the added zipper ends your corners won’t look clogged but pretty pointy. I love this clean look and the fun feature of the zipper ends (a pop of colour can work so well here!)
P.S. my pillow features quietplay’s geometric bear pattern (this is paper pieced). I hope I will come around to take some nicer pictures of it for a separate post.
Happy sewing!

this post is linked up with Let's Bee Social at
Sew Fresh Quilts, Sew Cute Tuesday at Blossom Heart Quilts,
TGIFF this week at A Quilter In The Closet, Finish It Up
Friday at crazy mom quilts, Fabric Tuesday at Quilt Story
and Freebie Friday at Handmade on Tuesday.

What a great tutorial, thank you for sharing, if this gets rid of those clumpy corners, I’m definitely trying it! I love you polar bear block too :)
Thank you Louisa! Yes, there’s so much less bulk involved, try it ;-)
Thank you so much for sharing this tutorial, I love how your zipper looks in this pillow with the tab ends for the zipper! I’m going to have to pin this for later :)
I really have to give a zippered pillow a try. Thanks for the very clear and helpful tutorial!
This is awesome. Thank you so much for sharing I’m definitely saving it to my to do list.
Great tutorial Vicky! Love the pillow too :)
Wonderful explanation of how to get that zipper in. I’ve added it to my quilt journal. Thanks.
Love the pillow, and thank you for the tutorial on the zipper! Very helpful
[…] fully quilted pillow – how to add a zipper [tutorial] […]
[…] I put my pillow zipper closure method to use again. I’m so happy I figured this out, so quick, such a clean finish. Sorry for keep […]
Love this tutorial! I have some couch pillows that are WIP’s and will be using this method!
I Have some pillows that I need to do and I will definitely try this method. Thank you very much!
[…] (so fits a standard small pillow size 40x40cm, as we have them available in Germany). I used my zipper technique for fully quilted pillows again, since I quilted both the front and back side of the cover. The bonus using this method is […]
[…] I then pieced them together and proceeded with my usual pouch making technique, which is based on this tutorial with an added […]
[…] And as just sewing, not pressing, not trimming, not measuring, not squaring felt quite liberating I kept on adding borders to the HST panel and found some more coordinating scraps to make a separate improv log cabin piece. I quilted both of them up with multi directional straight line clusters and turned them into a pillow cover with my usual zipper finish. […]
[…] I have inserted the zipper on the bottom of the cushion cover. I have found this great tutorial at VENI VIDI VICKY Quilts website – here a big thank you Vicky for sharing – and followed the instructions […]
[…] have added a zipper closure to the bottom of the cushion cover following a tutorial by Vicky from veni vidi vicky […]
[…] My favourite zipper insert – tutorial by veni vidi vicky […]