In my post about the bulk coasters production I had going on in August I reflected on some improvements I planned on making the next time. Well, the next time has come, there’s one last wedding to attend this year. Those lovebirds too, are getting a set of coasters.
The two main improvements I’ve made:

individual design
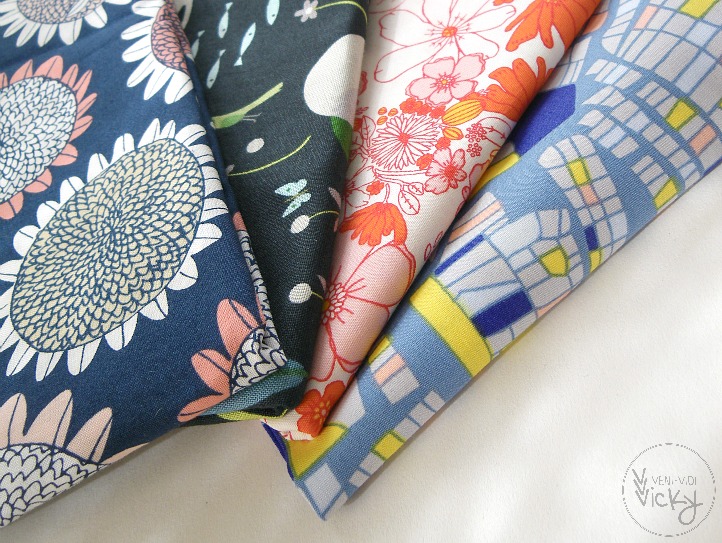
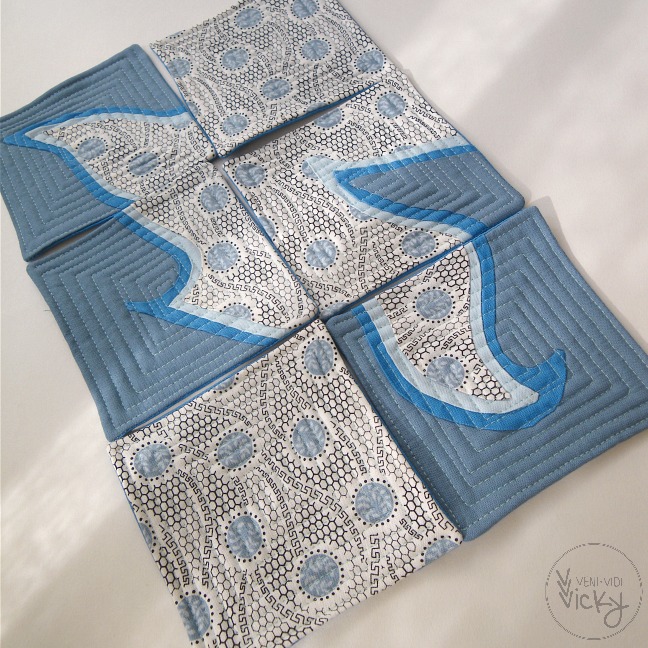
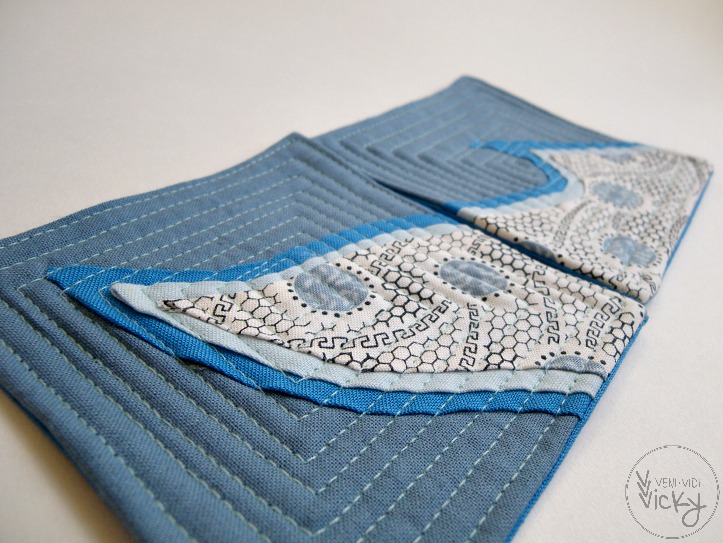
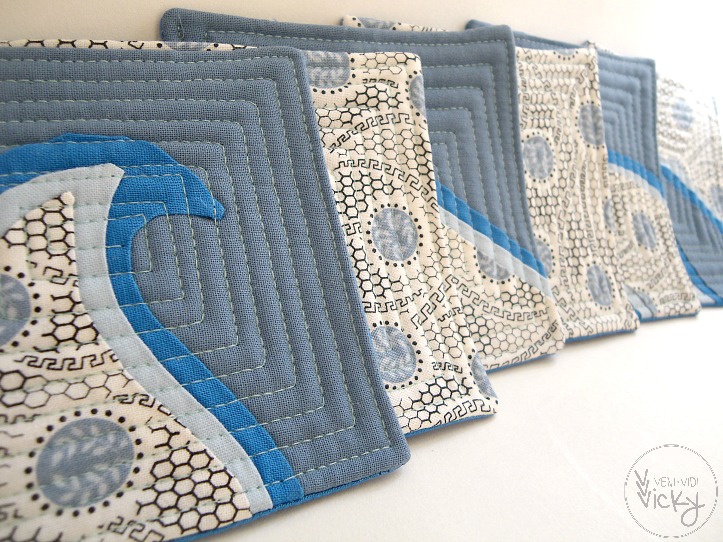
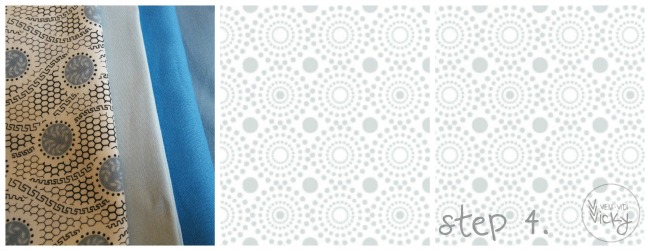
I had a hard time thinking about a colour combination the couple would like. Sure, I know them well, but have we ever talked about our fav colours? No. Their general taste I’d describe as eclectic. This is where I turned to their wedding invitation and save-the-date card and I just knew what I would do. The bride is part Indonesian and grew up there. What a sweet sentiment to reflect in their card design. I pulled blue fabrics and the Downton Abbey fabric that had come to my mind thinking of Indonesian tribal patterns. I appliquéd layering three echoing shapes on a piece of background fabric.

skipping the binding
I found it to work better for such a small project to sew the right sides together and turn the inside out after. The binding is very prominent in my original coasters, every imperfection (and they are far from perfect!) weighs heavily. We all know hand binding can be time-consuming, so I loved skipping that part.

TUTORIAL:
For the application I chose a very simple method. You don’t need interfacing, freezer paper or anything else.
WHAT YOU NEED
fabric of your choice
batting
1-2 sheets of regular paper
paper scissors, fabric scissors
rotary cutter, cutting mat
thread
regular glue stick & fabric glue
steam iron

[1] Draw a design you would like to appliqué on a sheet of regular printer paper. Cut it out with scissors and lay it out on another piece of paper. Trace the shape about 1/4” from the original shape. Cut and repeat one more time. You now have three templates echoing in size.
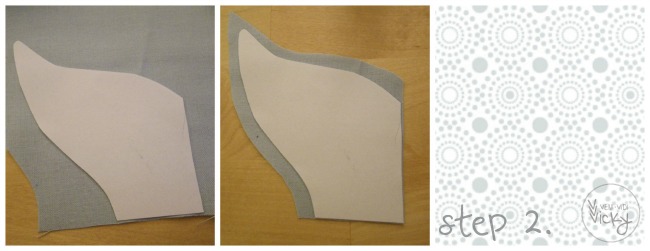
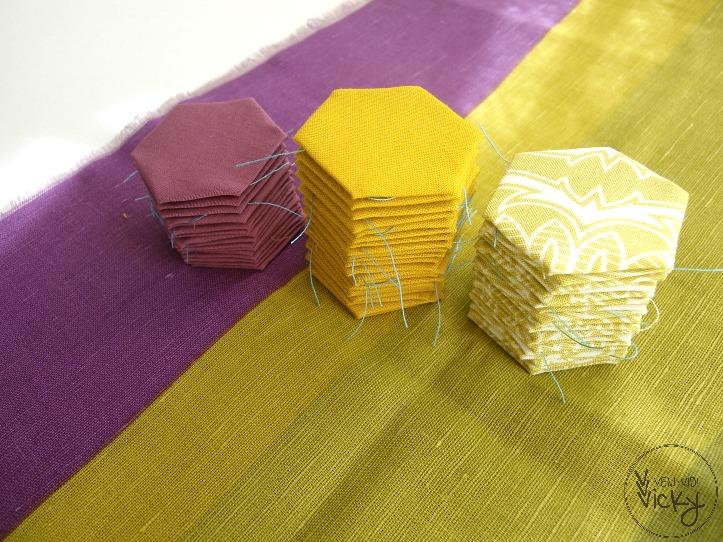
[2] Lay your templates out on the wrong side of your fabric of choice. Trace them with a pencil and cut out with a 1/4 inch seam allowance.

[3] Secure each paper template to the back of the fabric with a glue stick. Clip your seam allowance where there’s an inner curve. Finger press the seam allowance over your paper template very tightly. After that press in shape using high steam. Press from both sides.
[4] Cut two pieces of fabric measuring 5 x 5”. One will be your background for the appliquéd side of the coaster, the other piece will become the backside of the coaster. Cut your batting at 5 x 5”, too.
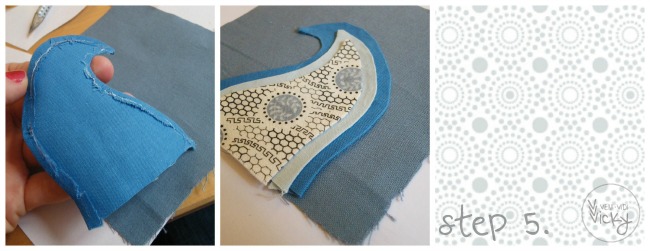
[5] Take your paper template out carefully. Glue your appliqué pieces on the right side of your background fabric. This is to secure the pieces for the next step, you don’t have to glue throughout, just enough to keep them where they’re supposed to be. Use a fabric glue of your choice for this.

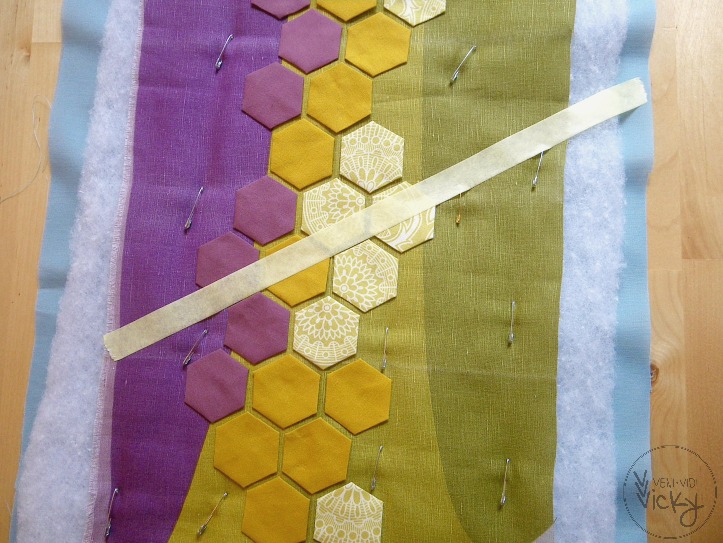
[6] Lay the two pieces of fabric right(!) sides together. Square them up to become 4.5 x 4.5” squares. Lay the batting on top of the appliquéd piece (this piece is facing wrong side up!).

[7] Now turn the three layers over, so that the backside fabric is on top. The batting is now lying directly on the table. Pin your “sandwich” using some safety pins or regular pins.
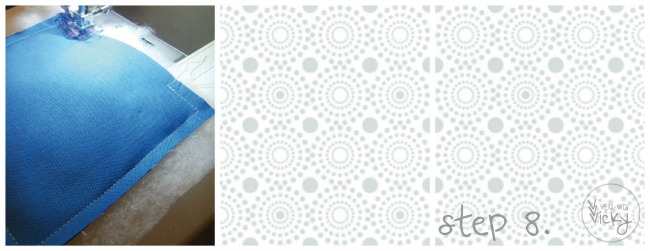
[8] Place the “sandwich” on your sewing machine, start sewing at the edges leaving a 1/4” seam allowance. Leave an opening (important!) Machine tie-off at the start and end of your seam.
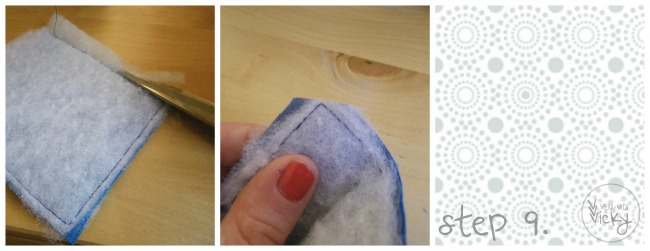
[9] Now cut down the batting directly to the seam, leaving almost no seam allowance. Be careful not to cut into your fabric layers or into the seam. Please use scissors for this, a rotary cutter won’t work. Also trim the fabric corners to make better coaster corners during the next step.
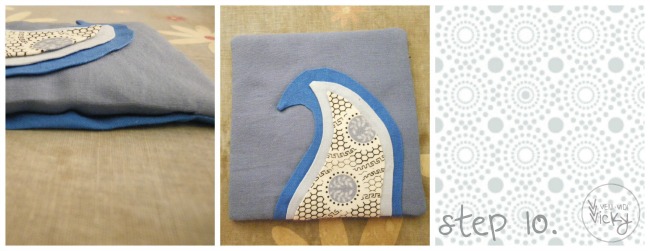
[10] Turn your coaster inside out. Push the corners out neatly using a sharp object like your (closed) scissors. At the remaining opening, turn the edges of the fabric inside about 1/4” and press gently with your fingers. Press the opening closed with your iron and iron over the entire coaster on low temperature. I used polyester batting so this is necessary to make the sandwich a little flatter for quilting. If you use a thin cotton batting, you don’t have to press the coaster as a whole.

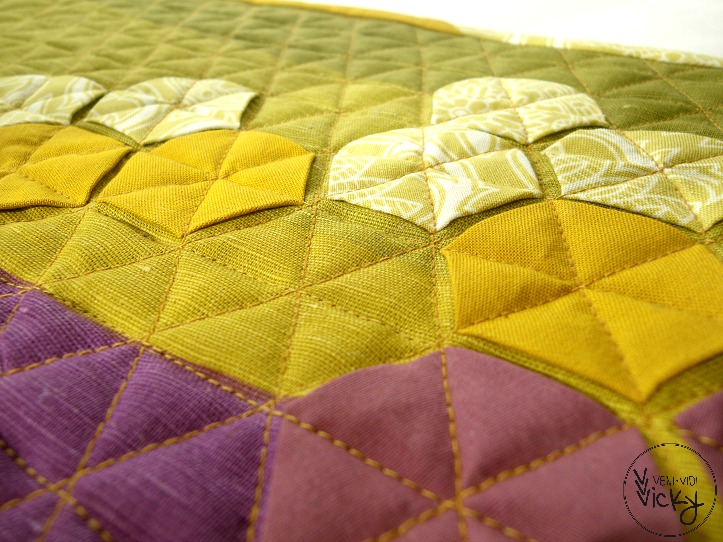
[11] Now start quilting starting from the edge of the coaster. Sew as close to the edge as possible and make sure you sew your opening closed by doing so. Trace your seam to the inside quilting a big square spiral. Instead of letting your machine tie off, bury the threads when you’re done quilting.
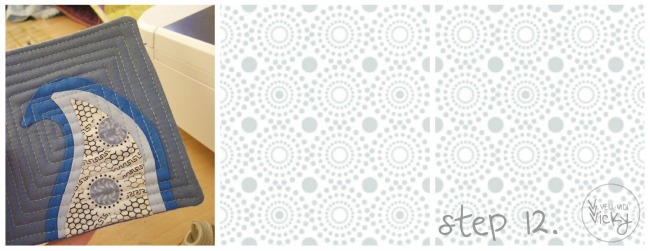
[12] You’re done!
If you have any questions about making these coasters, please let me know. If you make some of your own, I would love to see them.

this post is linked up with WIP Wednesday at Freshly Pieced
TGIFF at Sew Fresh Quilts and Monday Makers at Aylin Nilya
and Quilt It Out, Fabric Tuesday at Quilt Story
and NTT at My Quilt Infatuation